Owning Your Craft #2 : Surveying your knitting project
In this mini series we’re exploring 3 ways to ‘own your craft’ so you can set yourself up for success to ensure your knitting projects are a pleasurable and satisfying experience, and not a source of frustration or disappointment.
Last time we explored what ‘owning your craft’ might mean, and why this is important to improve confidence in your own abilities, creativity and technical decision making. In turn it’ll enhance your personal creative journey and and set you up for successful happy knitting.
To recap, we’re exploring ways you can own your craft, and I’ll cover 3 things you should consider before you even cast on that’ll make sure your next project makes you heart sing rather than sigh:
Part 2: Surveying the pattern and plan ahead
Part 3: What adaptations, if any, might you make?
If you missed part 1 I’d suggest reading that first then coming back here to part 2.
Survey your knitting project before you start
It can be difficult at first to be able to ‘see’ how a pattern works, but it gets easier with practice and is worth developing this skill. By taking a really close look at the pattern before you start, you’ll be able to make some important decisions that will set you up well for a successful knit.
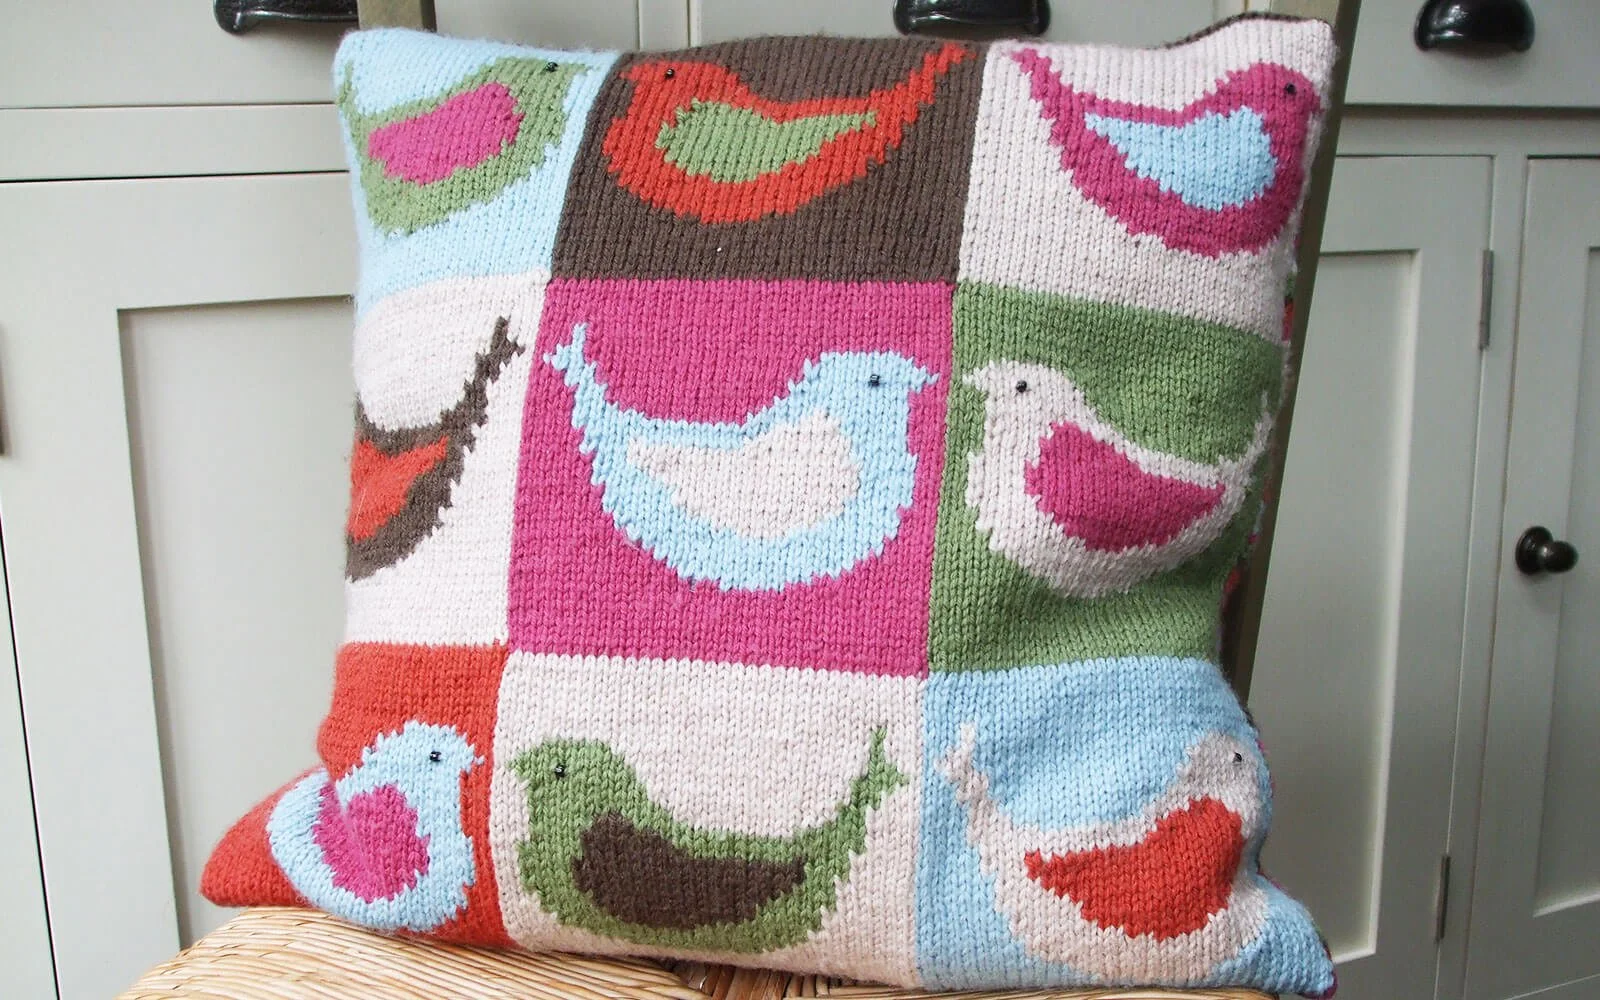
This is where using a well crafted pattern really comes into it’s own. A good quality pattern should have, amongst other elements, a schematic which will show you the basic shape of the item, plus the key finished measurements (see [anatomy of a good pattern] for learn more).
I highly recommend keeping a dedicated notebook for your knitting projects, and recording any information you glean from your survey of the project, and any other decisions etc you subsequently make.

Keeping a dedicated notebook for all your projects can help you keep track
Identify what you love about it
Firstly take a moment to consider what elements you really love about the design. This is important so that you don’t lose this, should you decide to make any changes. Consider what you really like about the design - is it the colour? the shape/silhouette? the stitch detail etc?
Be careful to note the characteristics and ‘feel’ of the actual project. Don’t get bamboozled by the overall styling of the photo such as what it’s worn with by the model for the photo.
What are the design features ?
Stitch patterns
Does the design have any special stitches described? Are there cables or twisted stitches? Brioche? You maybe want to use this as an opportunity to try out a new technique.
Edges
Consider the edges of the design - What stitches are at the hems and neckbands? Does it specify a particular cast on to use? This will help you make some technical decisions about what type of cast on or cast off you might want to use - see my cast on toolkit to learn 7 different cast ons that will cover most bases.

What about the side edges (selvedges)? This usually applies to the first and/or last stitches of a row to neaten the edge for seaming.
Structure, sizing & measurements
Is it knitted flat, or in the round? Is it knitted from the bottom up or the top down? It’s important to note what the structure is, as this will help inform your decision making for any adjustments.
Take a look at the schematic and/or completed measurements such as the length of sleeves, the back etc and compare these to your measurements and/or items you have already that you like the fit of. Remember you’ll be knitting this for you (or a lucky recipient), not for the person modelling the item in the photo!

Make sure you keep a note of these findings as you’ll want to refer to them later.
What skills or techniques do I need to learn?
As we discussed last time, it’s good to identify any skill gaps before you start. Don’t let this put you off if you don’t know these already though - see this as an opportunity for you to grow and development as a knitter.
A good pattern will list the skills and techniques used, but if not then you can look for clues in the pattern notes, special stitches and/or abbreviations list. Sometimes techniques are obvious to see - Is there colourwork such as intarsia or fairisle/stranded knitting for example? Once you have identified any techniques etc you are unfamiliar with, you can then look these up.


If you’re fortunate to personally know an experienced knitter (or be in a group of knitters) they will likely be happy to help you, but in this day of online tech, your favourite search engine (such as google) is the way to go - you can put in the name of the technique or even just the abbreviation plus the word knitting and you’ll bring up a whole host of results you can check out.
You’ll find a plethora of excellent blog posts and YouTube videos available for free, and a number of social media options too such as face book groups etc that may be of interest. If I were you I would limit the number you read/view though. You can waste a lot of time browsing and it can seem confusing or overwhelming with too many ‘opinions’ presented. I recommend limiting this to 1-3 that you like the look of, and if you find a particular blog/channel etc that you like, add them to your favourites and make them your first choice for future searches. That way you’ll get a more consistent learning experience.
Or you may want to invest in a book/e-book or 2, workshop or online course on specific techniques. Your local yarn store can probably make helpful recommendations, or check out knitting magazines for what’s on etc, as well as of course doing a good old google search.

In any case, once you have found your learning resources, take your time to explore the new technique. If you’ve the patience I highly recommend having a little play first - do a little swatch or two ahead of time. You can use any yarn oddments you have for this as you aren’t trying to match tension for this.
This will help you gain confidence ready for the knit ahead, or if you really dislike the experience then you may want to reconsider your project. Do give it a fair go first - all new techniques can take a bit of time to feel comfortable.
Bring it all together - Thirlstane example
As a practical craft, knitting is often best learned by use of practical examples. With that in mind, as a working example I thought it might be helpful to share with you how I’m approaching a personal knitting project. I’m currently knitting Rowan’s Thirlstane Cardigan by Georgia Farrell.
Looking at the pattern I could see this was a short cardigan, with a neat boxy shape, with a 3/4 length sleeves. I love that length of sleeve, but I’ll be checking the length that would be for me against the length of the sleeves given in the pattern schematic.
I really like that triangular textured stitch pattern around the lower section of the body and sleeves and how that looks against the plain stocking stitch - I also know from experience this combination of knitting ’interest’ and plain sailing will provide a change in rhythm that I particularly enjoy - intervals of more interesting knitting interspersed with some speedy stretches of stocking stitch that I can enjoy with TV and/or family time.
The actual edges here are garter stitch - So I know I’ll be opting to use the continental or thumb cast on (LINK) as it looks great with garter stitch.
Thirlstane is knitted seamlessly from the top down, on a long circular needle. The main body is actually knitted flat (ie in rows) using short row shaping at the neck edge, and raglan shaping for the sleeves. It’s knitted all in one in rows to the armholes, then divided up to work the body before rejoining at the armholes to complete the sleeves, which are then knit seamlessly in the round to the cuff.

As the fronts and back are knitted in one piece there’ll be a lot of stitches on the needles at certain points - this can be a challenge when counting the number of stitches. I noticed stitch counts in the pattern are given all in one across the row. I know from experience I’d prefer to have these separated for the different sections, so I made a table up with what the stitch counts should be for each section (i.e. right front, right sleeve, back, left sleeve, left front) after each increase row. I also placed stitch markers to separate out these sections to make it easier to navigate the knitting. Then if (or rather when!) I make an error it’ll be easier to see where, and I’ll know how best to fix it.
Coming up next
Next time we’ll consider what we’ve learned so far about surveying your project alongside what your preferences are (which we explored last time). This will help evaluate whether this project is really for you or not, either as it is presented in the pattern, or with a few manageable tweaks you can apply to make it your own.
I do hope you’re finding this topic of interest and will join me again for the 3rd and final part of this mini series. I you want the head’s up when that’s out, sign up to my email list below.